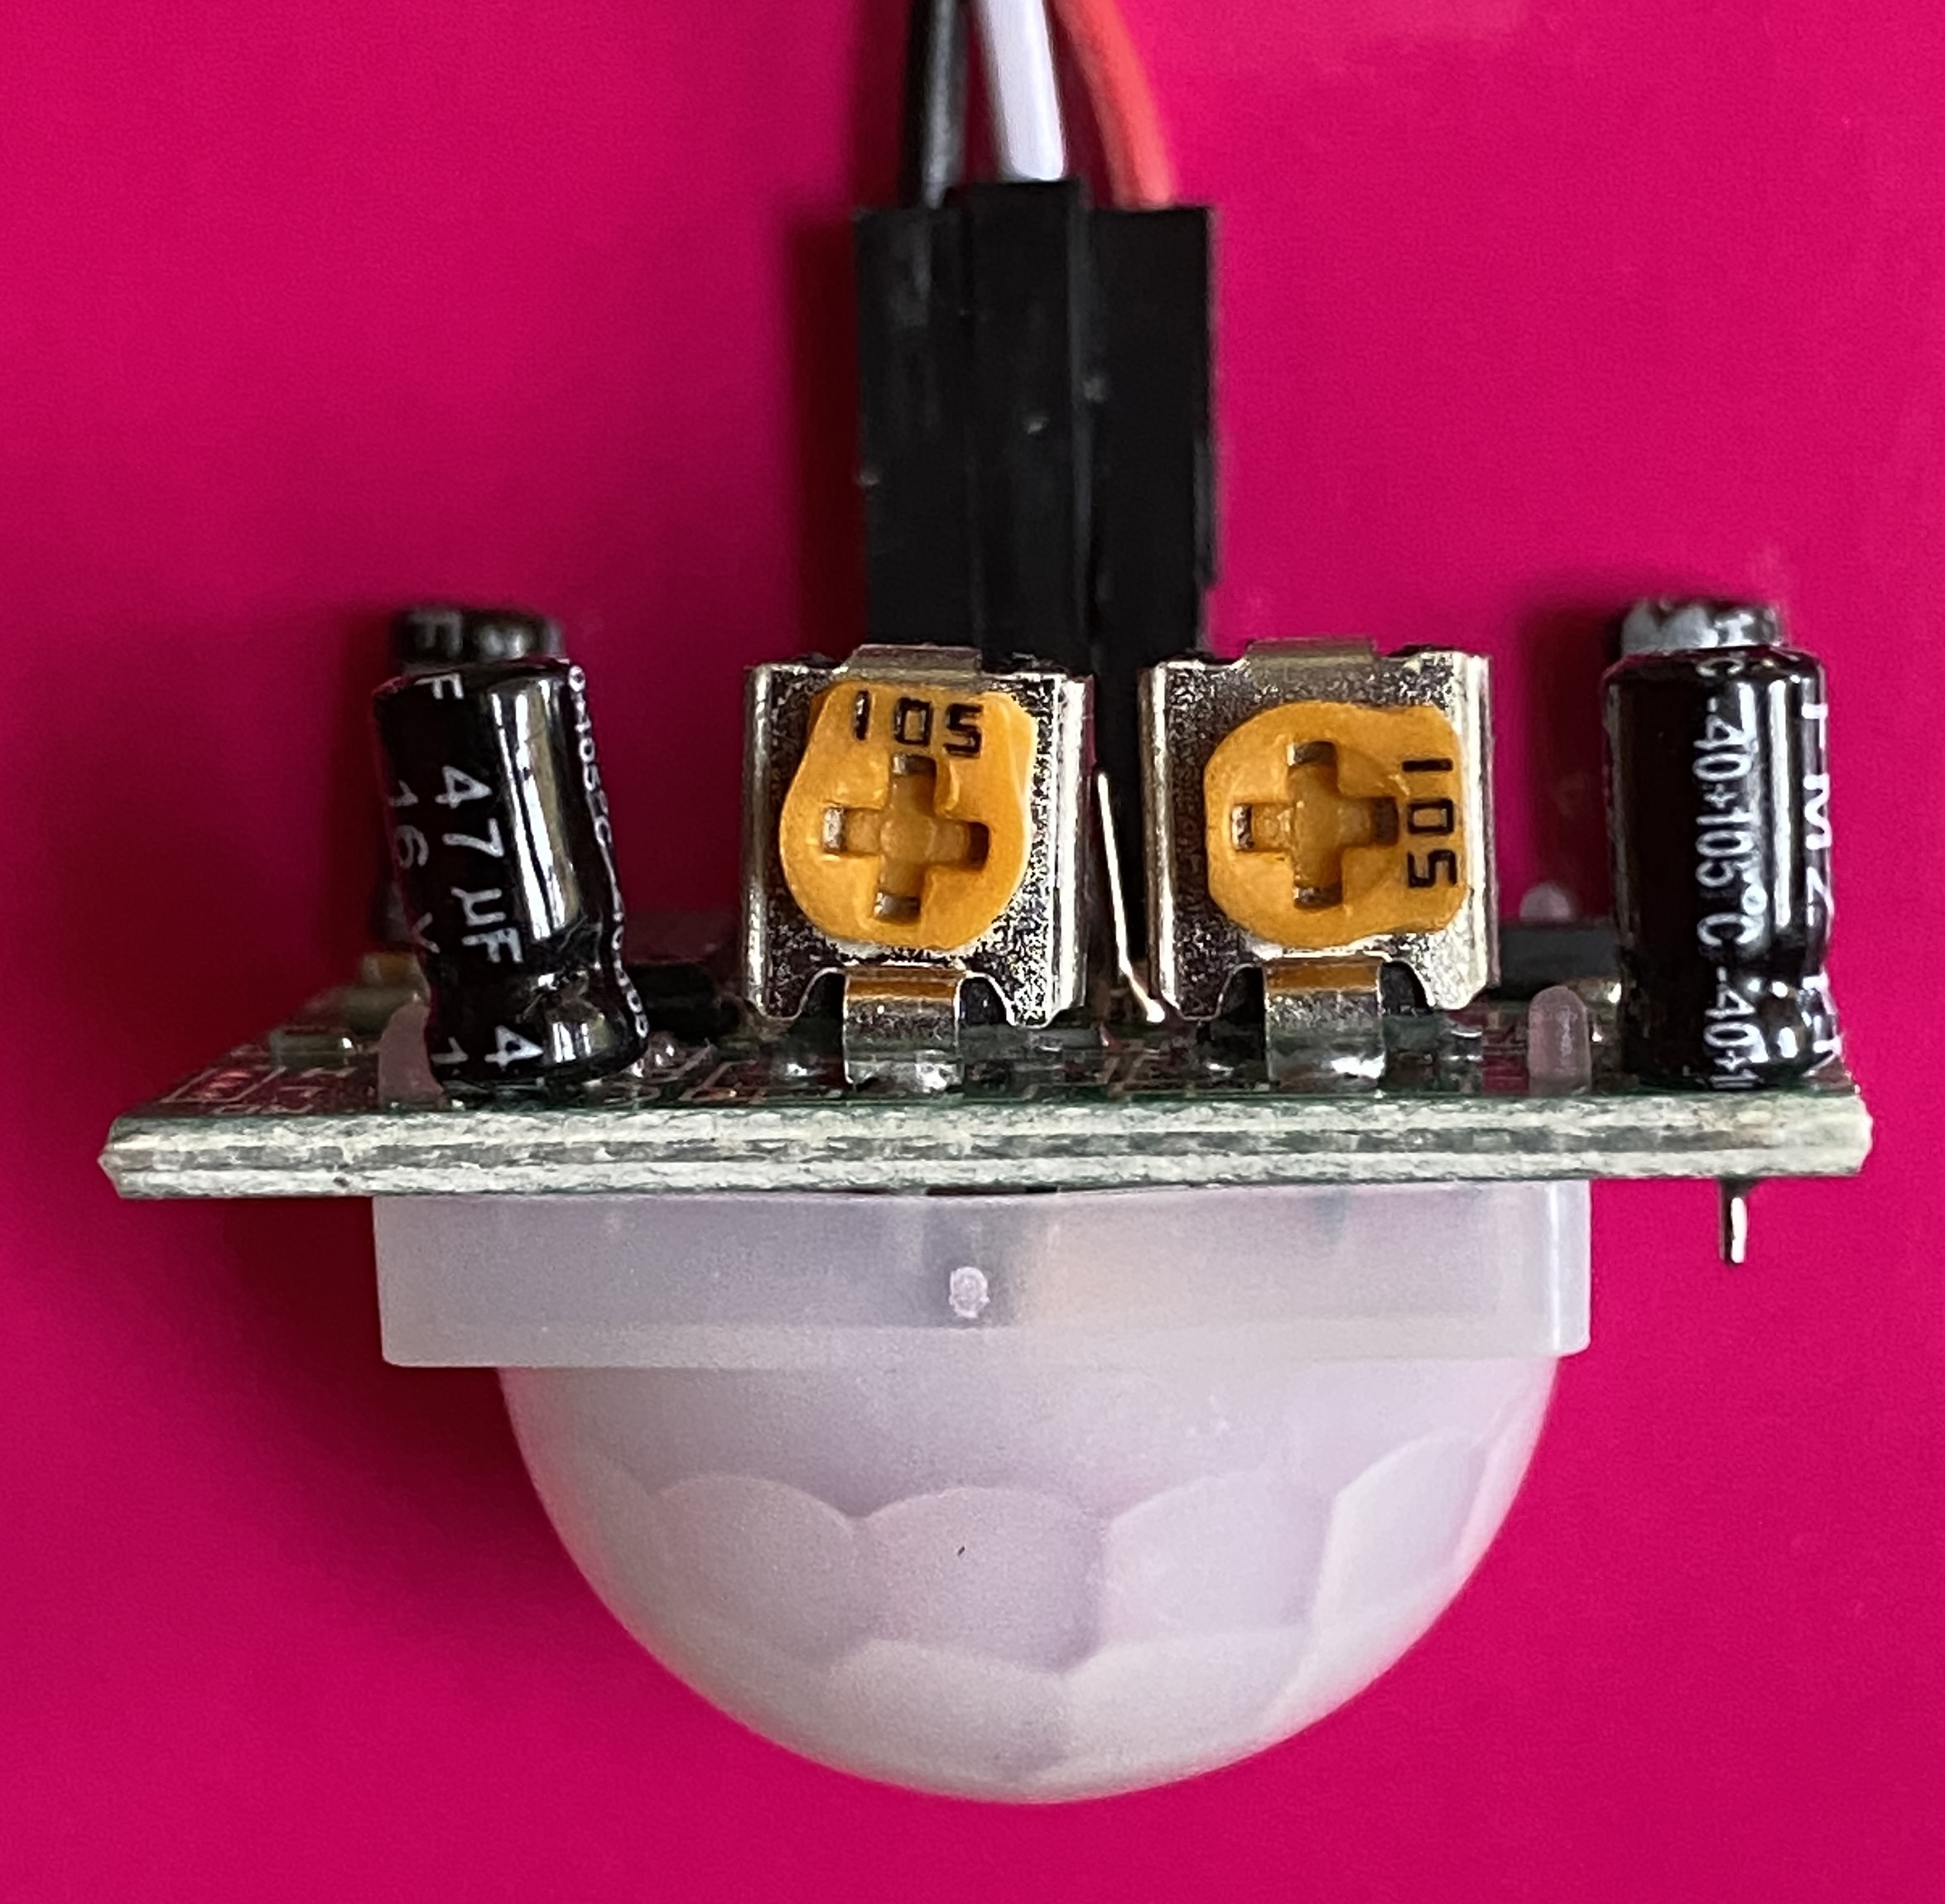
PIR + Light sensor to light up a LED
ESPHome PIR and Light sensor to light up a LED ribbon plugged into a Tasmota Smart Plug
See Instructables pages as an example
Material
- ESP8266 D1 mini
- PIR sensor HC-SR501
- resistance 10k
- photoresistor
- relay SRD-05VDC-SL-C
ESP8266
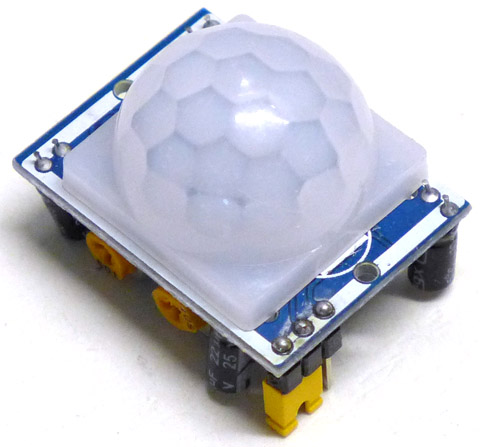
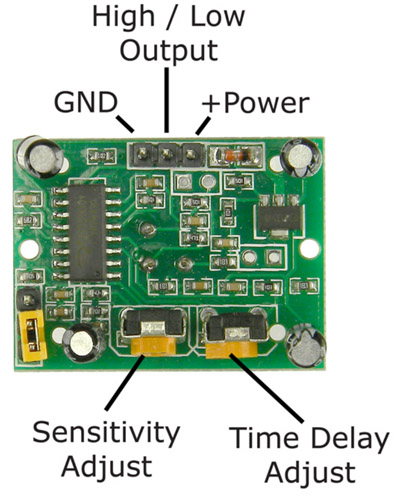
PIR sensor HC-SR501
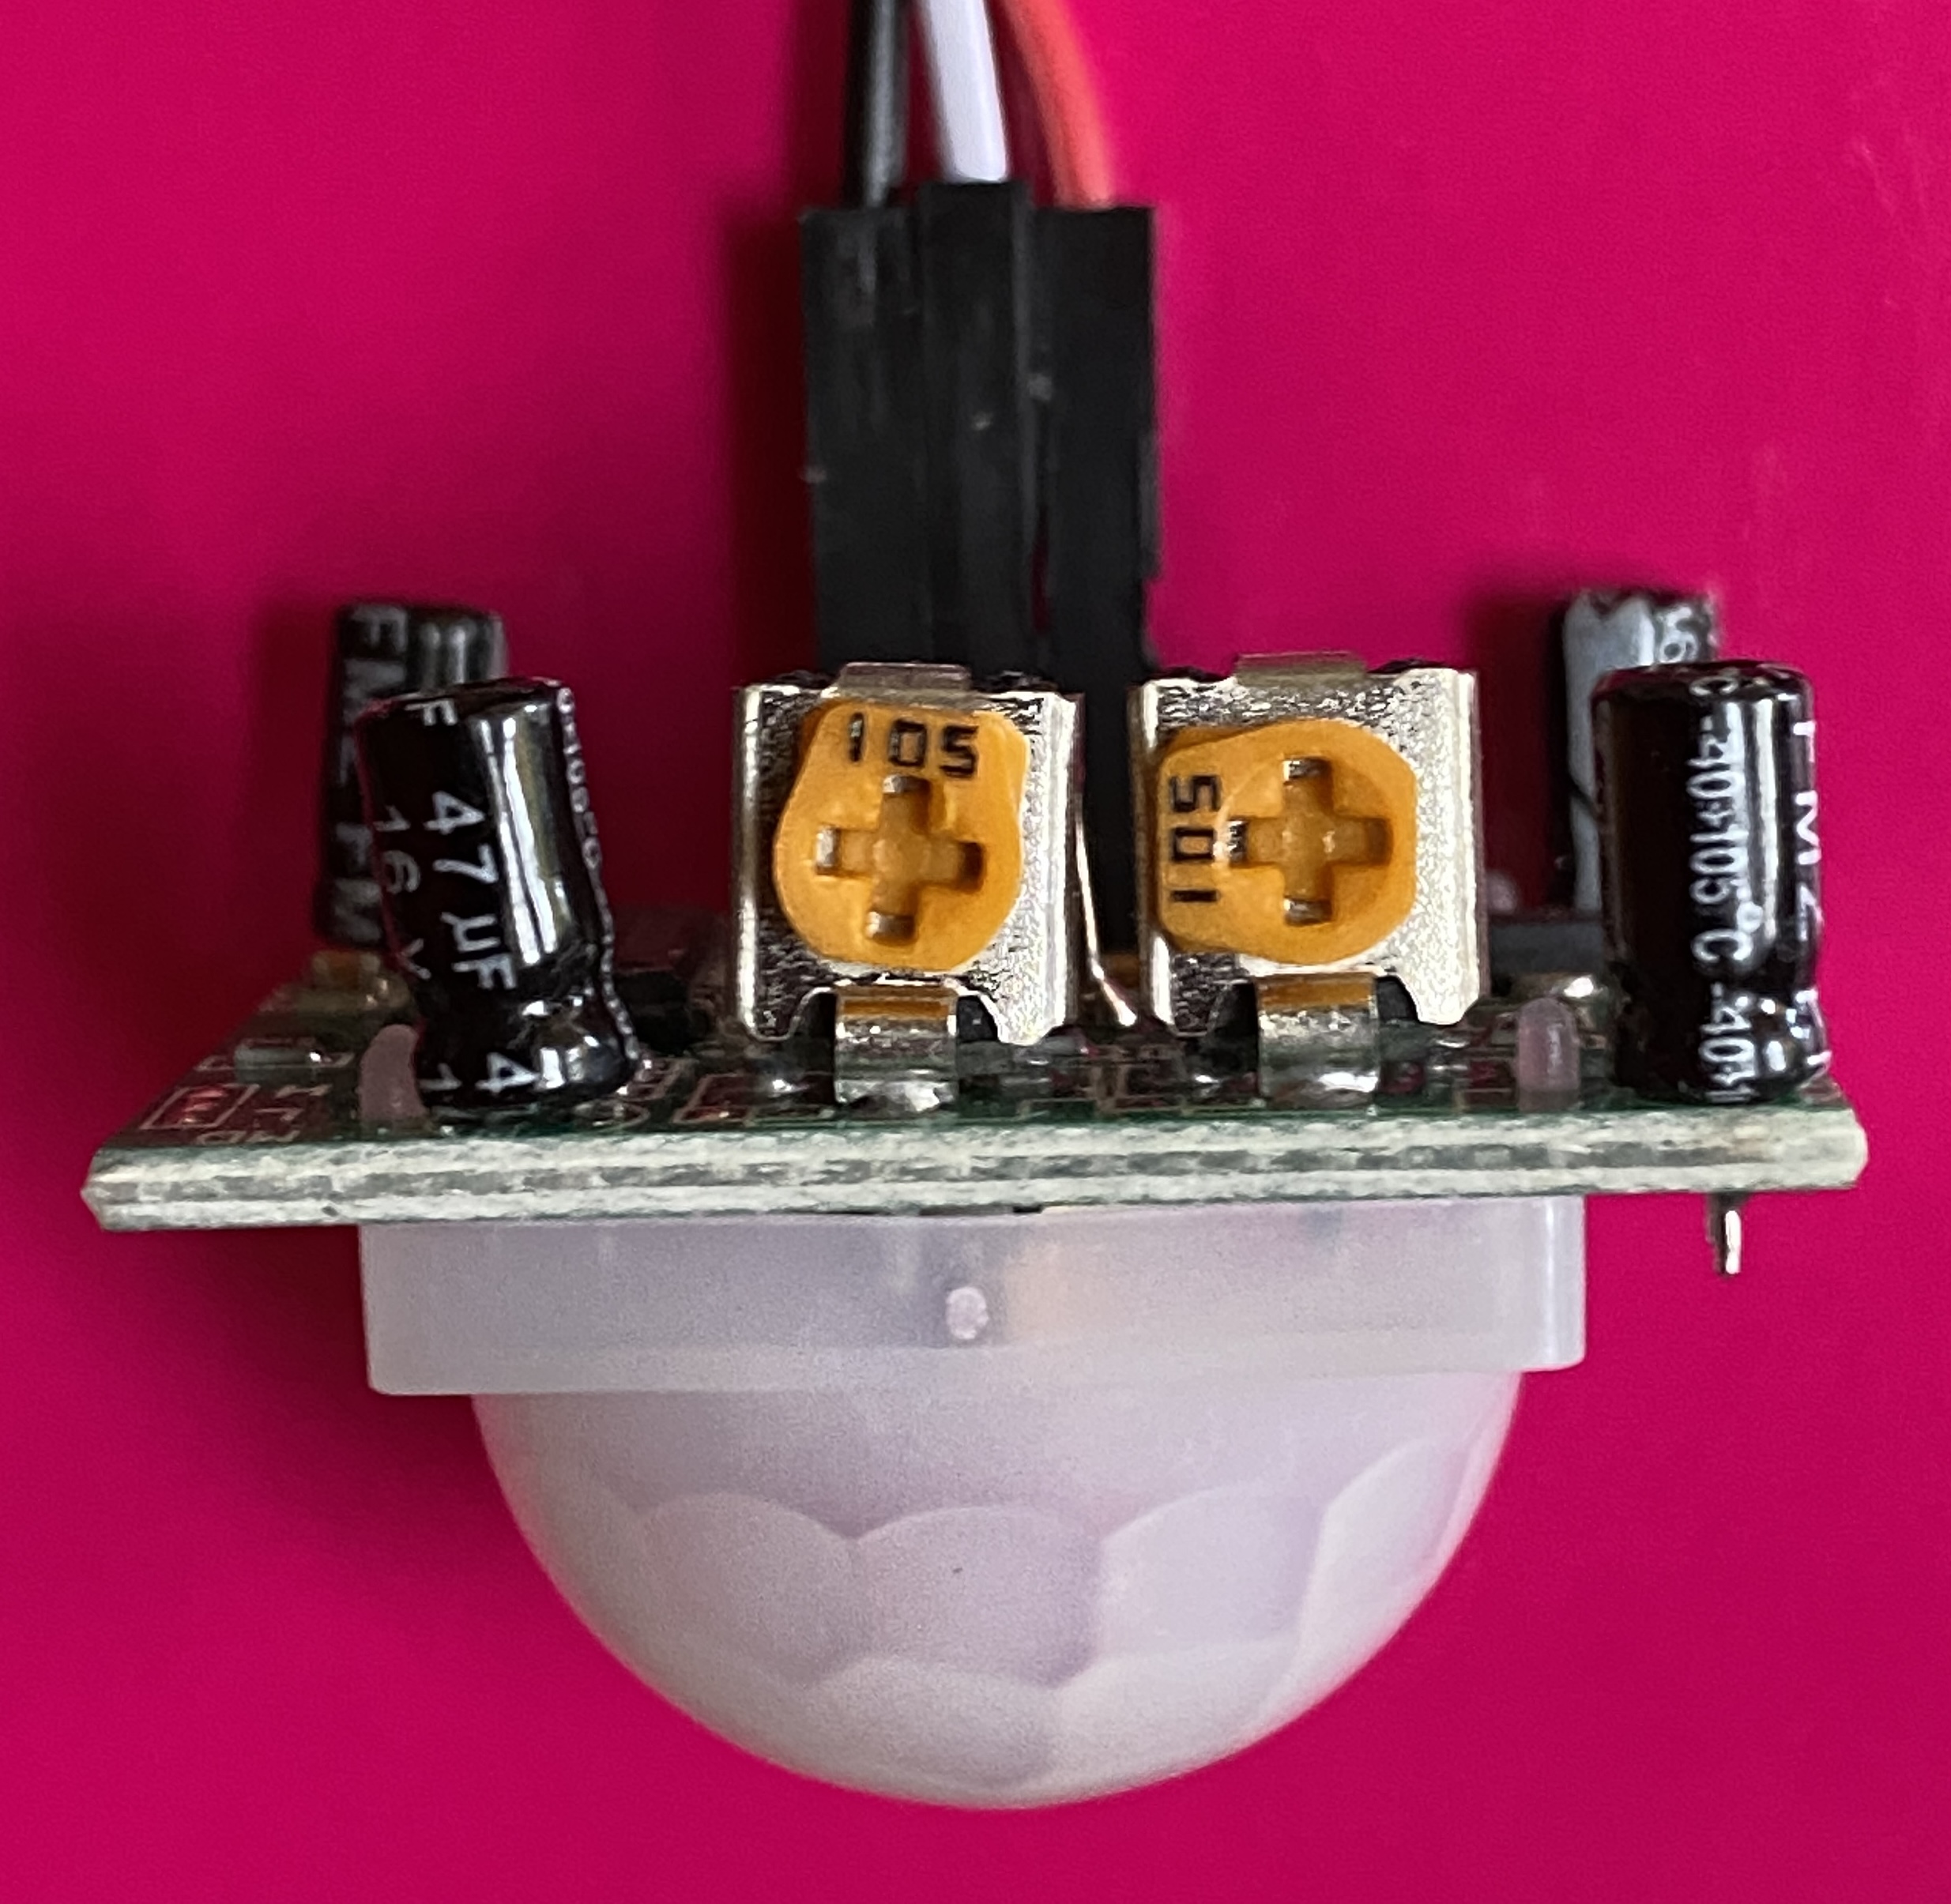
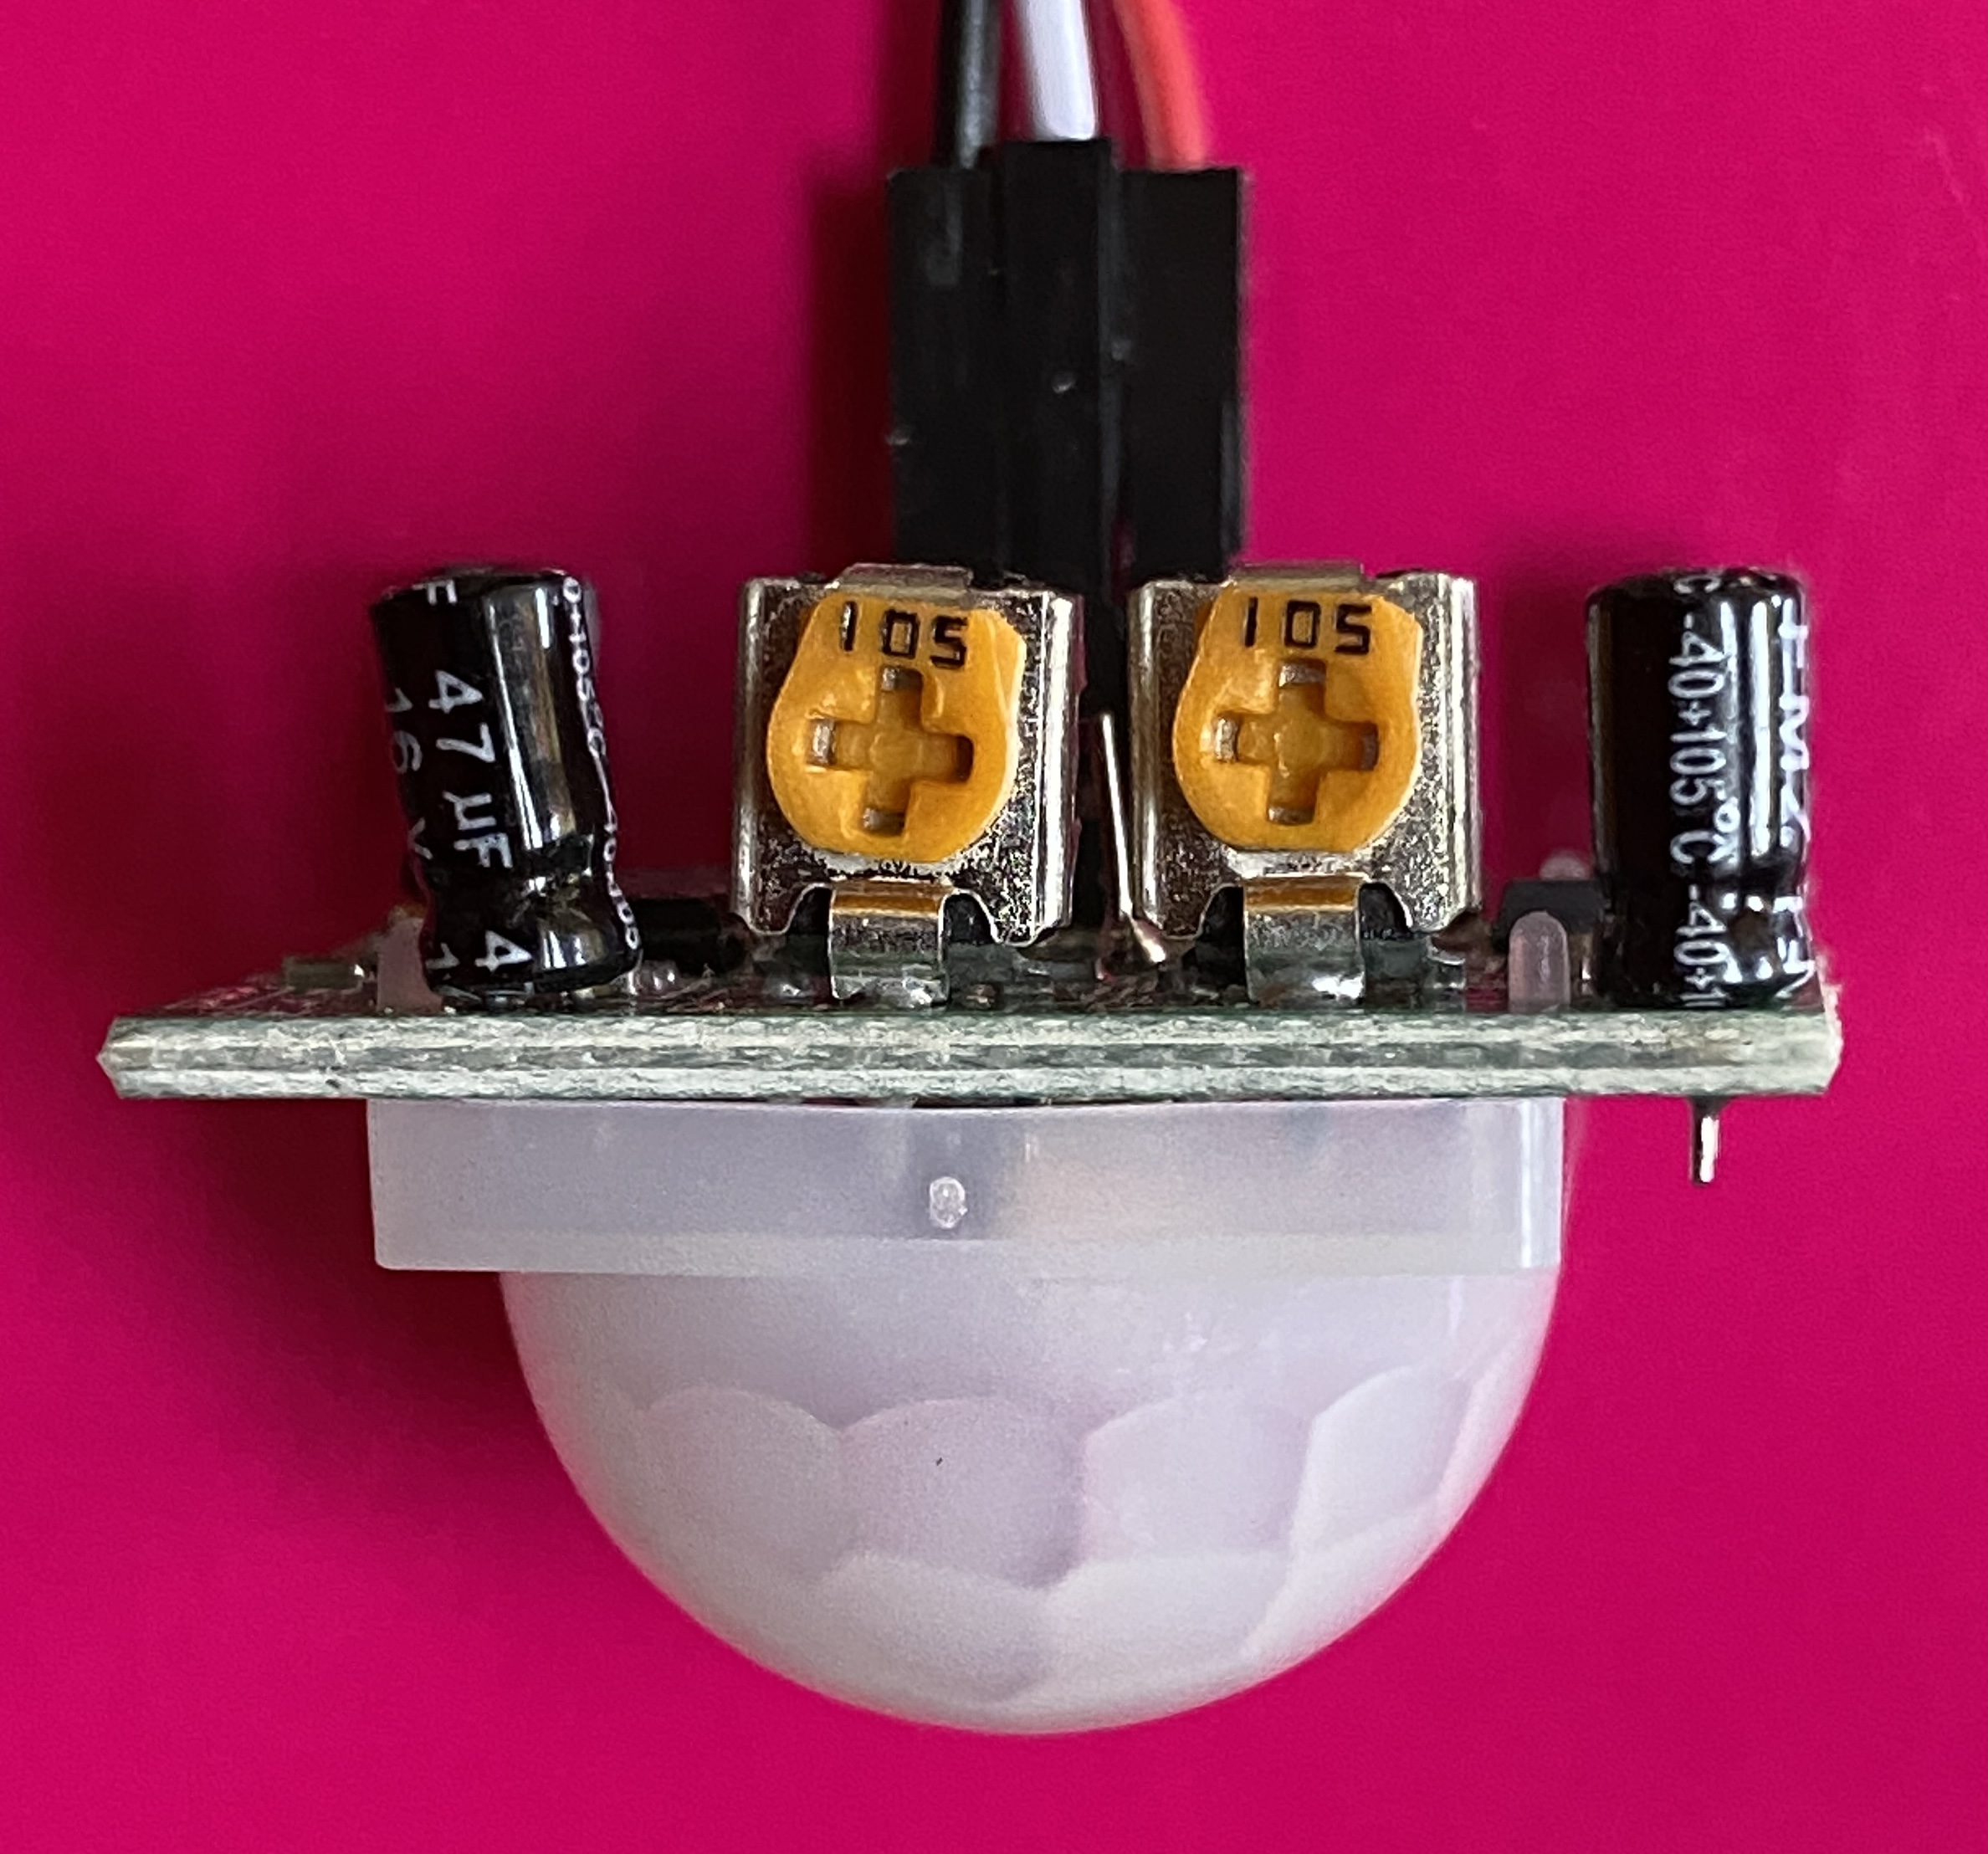
Time Delay Adjustment
Delay is (from left to right) 10s, 1000s (1'30'') and 2100s (3'30'')
relay SRD-05VDC-SL-C
Wire to use a Tasmota Plug (bad solution, Tasmota plug is dead after several months! - see below)
Warning
Be careful to put the led ribbon in the right direction. The current only flows in one direction.
Danger
After several months the Tasmota plug died (another too). So I decided to put a relay instead of the plug.
Wire with a relay
The wire of the photoresistor and the presence detector is the same in the first version.
ESPHome configuration
esphome:
    name: esp8266-d1-mini-3
    comment: 'PIR entrée'

esp8266:
    board: esp01_1m

web_server:
    port: 80

# Enable logging
logger:

# Enable Home Assistant API
api:

ota:
    password: "----------------------"

wifi:
    ssid: !secret wifi_ssid
    password: !secret wifi_password

    # Enable fallback hotspot (captive portal) in case wifi connection fails
    ap:
        ssid: "Esp8266-D1-Mini-3"
        password: "Q1iAmSDiMXdt"

captive_portal:
sensor:
    - platform: adc
      pin: A0
      name: "Entrée LUX"
      update_interval: '5s'
      unit_of_measurement: lux
      filters:
          - lambda: |-
          return (x / 10000.0) * 2000000.0;

binary_sensor:
    - platform: gpio
      pin: GPIO2
      name: "Entrée PIR"
      device_class: motion

switch:
    - platform: gpio
      pin: GPIO4  # D2
      name: "Relais led"
Automations
Turn ON when motion is detected
alias: Extérieur PIR détection -> ON
description: ""
trigger:
    - platform: state
      entity_id:
          - binary_sensor.entree_pir
      to: "on"
      for:
          hours: 0
          minutes: 0
          seconds: 0
condition:
    - condition: numeric_state
      entity_id: sensor.lux_sensor
      below: 100
action:
    - type: turn_on
      device_id: 06fe698bfc80ec28f1d76a6c2d55dd5a
      entity_id: bfeec1684104b5ba17dff785b2b33d11
      domain: switch
mode: single
Turn OFF when motion is not detected
alias: Extérieur PIR non détecté -> OFF
description: ""
trigger:
    - platform: state
      entity_id:
          - binary_sensor.entree_pir
      to: "off"
condition: []
action:
    - type: turn_off
      device_id: 06fe698bfc80ec28f1d76a6c2d55dd5a
      entity_id: bfeec1684104b5ba17dff785b2b33d11
      domain: switch
mode: single
Chart to see what's going on
In this chart, I use three series
- lumonosity
- is motion detection (orange column)
- is switch (Tasmota) is on (blue column)
Motion detection and switch are binary sensor, they can't be draw in the chart. To display them, the trick is to create two entities with values 0 or 100 for the detection and 0 or 50 for the switch.
Warning
To avoid displaying 'off' values for both binary sensors, I set the value to 'null' (not '0')
This entities are created in the configuration.yaml file as folloxs :
sensor:
    - platform: template
      sensors:
          entree_pir_x_100:
              unique_id : "20230314-pir-entree"
              friendly_name: "Détecteur de présence de l'entrée * 100"
              value_template: >-
          {% if is_state('binary_sensor.entree_pir', 'on') %}
            100
          {% else %}
            null
          {% endif %}
  - platform: template
    sensors:
        entree_tasmota_switch_x_50:
            unique_id : "20230314-tasmota-entree"
            friendly_name: "Prise tasmota de l'entrée * 50"
            value_template: >-
          {% if is_state('switch.entree_exterieur_tasmota', 'on') %}
            50
          {% else %}
            null
          {% endif %}
type: custom:apexcharts-card
header:
    show: true
    title: Éclairage porte d'entrée
    show_states: true
    colorize_states: true
graph_span: 24h
span:
    end: day
apex_config:
    legend:
        show: false
now:
    show: true
    color: grey
    label: Now
series:
    - entity: sensor.entree_pir_x_100
      type: column
      stroke_width: 2
  - entity: sensor.entree_tasmota_switch_x_50
    type: column
    stroke_width: 3
  - entity: sensor.lux_sensor
    group_by:
        func: avg
        duration: 10min
    stroke_width: 2
    extend_to: now

